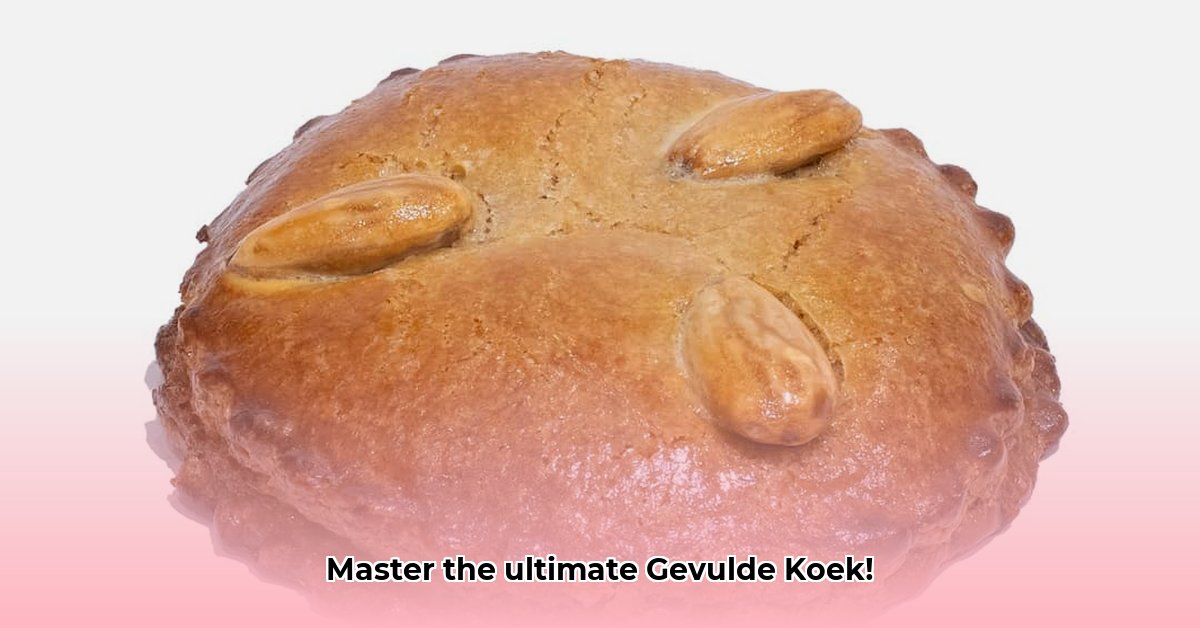
Gevulde Koek: A Taste of South African Heritage
Eish, gevulle koeken! These aren't just any old cookies; they're a proper taste of South African history, a little bit of Dutch heritage baked into every bite. This isn't your ouma's recipe (unless it is, then give her a big hug!), but it's a delicious and straightforward guide to making these delightful almond biscuits. We'll cover everything from that perfect almond paste to achieving gloriously crisp edges, all while keeping things lekker and easy. Get ready to impress!
Did you know that the history of gevulle koeken is as rich and layered as the cookies themselves? They hold a special place in the hearts and kitchens of many South Africans. Ready to experience the magic of making them?
The Secret to Success: Almond Paste Perfection
Forget store-bought – while convenient, nothing beats the taste and aroma of homemade almond paste. It's surprisingly simple, and the process is almost meditative! Trust me, the extra effort is totally worth it. The quality of your ingredients plays a big part in the final flavour, so don't skimp! Let’s get started.
Ingredients:
- 250g blanched almonds (easily found at most supermarkets)
- 250g icing sugar (castor sugar works in a pinch)
- 1 large egg white
- A tiny dash of almond extract (optional, but adds a lovely extra flavour)
Method:
- Grind the blanched almonds to a super-fine powder using a food processor. This is where the magic starts!
- Gradually add the icing sugar, mixing until you achieve a smooth paste.
- Whisk in the egg white – this binds everything beautifully.
- Finally, add a drop or two of almond extract if desired.
The Dough: Getting the Balance Right
Now for the dough. Think Goldilocks and the porridge – you want it "just right". It shouldn't be too dry or too sticky. Need a little more moisture? Add a tiny bit of water, a drop at a time. Too wet? A pinch of flour will do the trick. It's a bit of feel, but you'll master it in no time!
Ingredients:
- 250g plain flour
- 125g cold butter, cubed (cold butter is key for flakiness!)
- 75g caster sugar
- 1 egg yolk
- A pinch of salt
Method:
- Combine the flour and sugar. Rub in the cold butter using your fingertips until it resembles breadcrumbs.
- Stir in the egg yolk and salt, mixing until it just comes together. Don't overwork the dough; just until it forms a ball.
- Shape the dough into a disc, wrap it tightly in cling film, and chill it in the fridge for at least 30 minutes (longer is even better). This crucial step prevents the cookies from spreading too much during baking. It also is vital in getting that crisp texture.
Assembling and Baking Your Gevulde Koek Masterpieces
Time to get creative! This is where the baking starts to become even more fun.
- On a lightly floured surface, roll out the chilled dough to about 3mm thickness.
- Use a cookie cutter (or a glass) to cut out your circles.
- Place a small spoonful of almond paste onto half of the circles.
- Top with the remaining circles, gently pressing the edges to seal. Use a fork to crimp the edges for a pretty finish.
- Place the gevulle koeken onto a baking tray lined with baking paper.
- Bake in a preheated oven at 180°C (350°F) for 12-15 minutes, or until they're a beautiful golden brown. Keep a close eye on them – ovens can vary slightly.
Finishing Touches and Tasty Tweaks
Once fully cooled (essential!), get creative with your gevulle koeken! Dust them with icing sugar, sprinkle them with cinnamon for a warm spice kick, or drizzle with melted chocolate. Feeling adventurous? A dash of speculaaskruiden (Dutch spice mix) adds another dimension.
Expert Tip: "Chilling the dough is absolutely crucial for achieving perfectly shaped gevulle koeken," says Chef Bonita van der Merwe, owner of Bo-Kaap Bakehouse. "It allows the butter to firm up and prevents the cookies from spreading out excessively during baking, making them look perfect!"
Storing Your Delicious Creations
Store your gevulle koeken in an airtight container at room temperature for up to a few days, or freeze them for longer storage. They're just as delicious thawed as they are fresh from the oven!
So there you have it – your journey to gevulle koek mastery! Enjoy the process, the taste, and the smiles you'll bring to everyone who gets to try these delightful little treats. Happy baking, and geniet!